A Bug Sticky Wall :)
So we have been studying Amanda Bennett's unit study "Incredible Insects". Here is a link http://www.unitstudy.com/IncredibleInsects.html . I bought a whole bunch of her units when she was running a deal of "Buy 5 for $20". This is the first one of the units that we have been working on. The unit itself does NOT have this specific lesson on a bug sticky wall. I saw the concept on another blog and decided to add it as a bug activity to go with this unit study. My LO loves bugs! (He is a very typical little boy!)
I believe this was either the day of his second surgery or maybe the next day. He recovers very quickly from surgery and always wants to get playing right afterwards :)
So here is what we did :)
1. I took out some clear contact paper. I buy rolls of it super cheap at the dollar store.
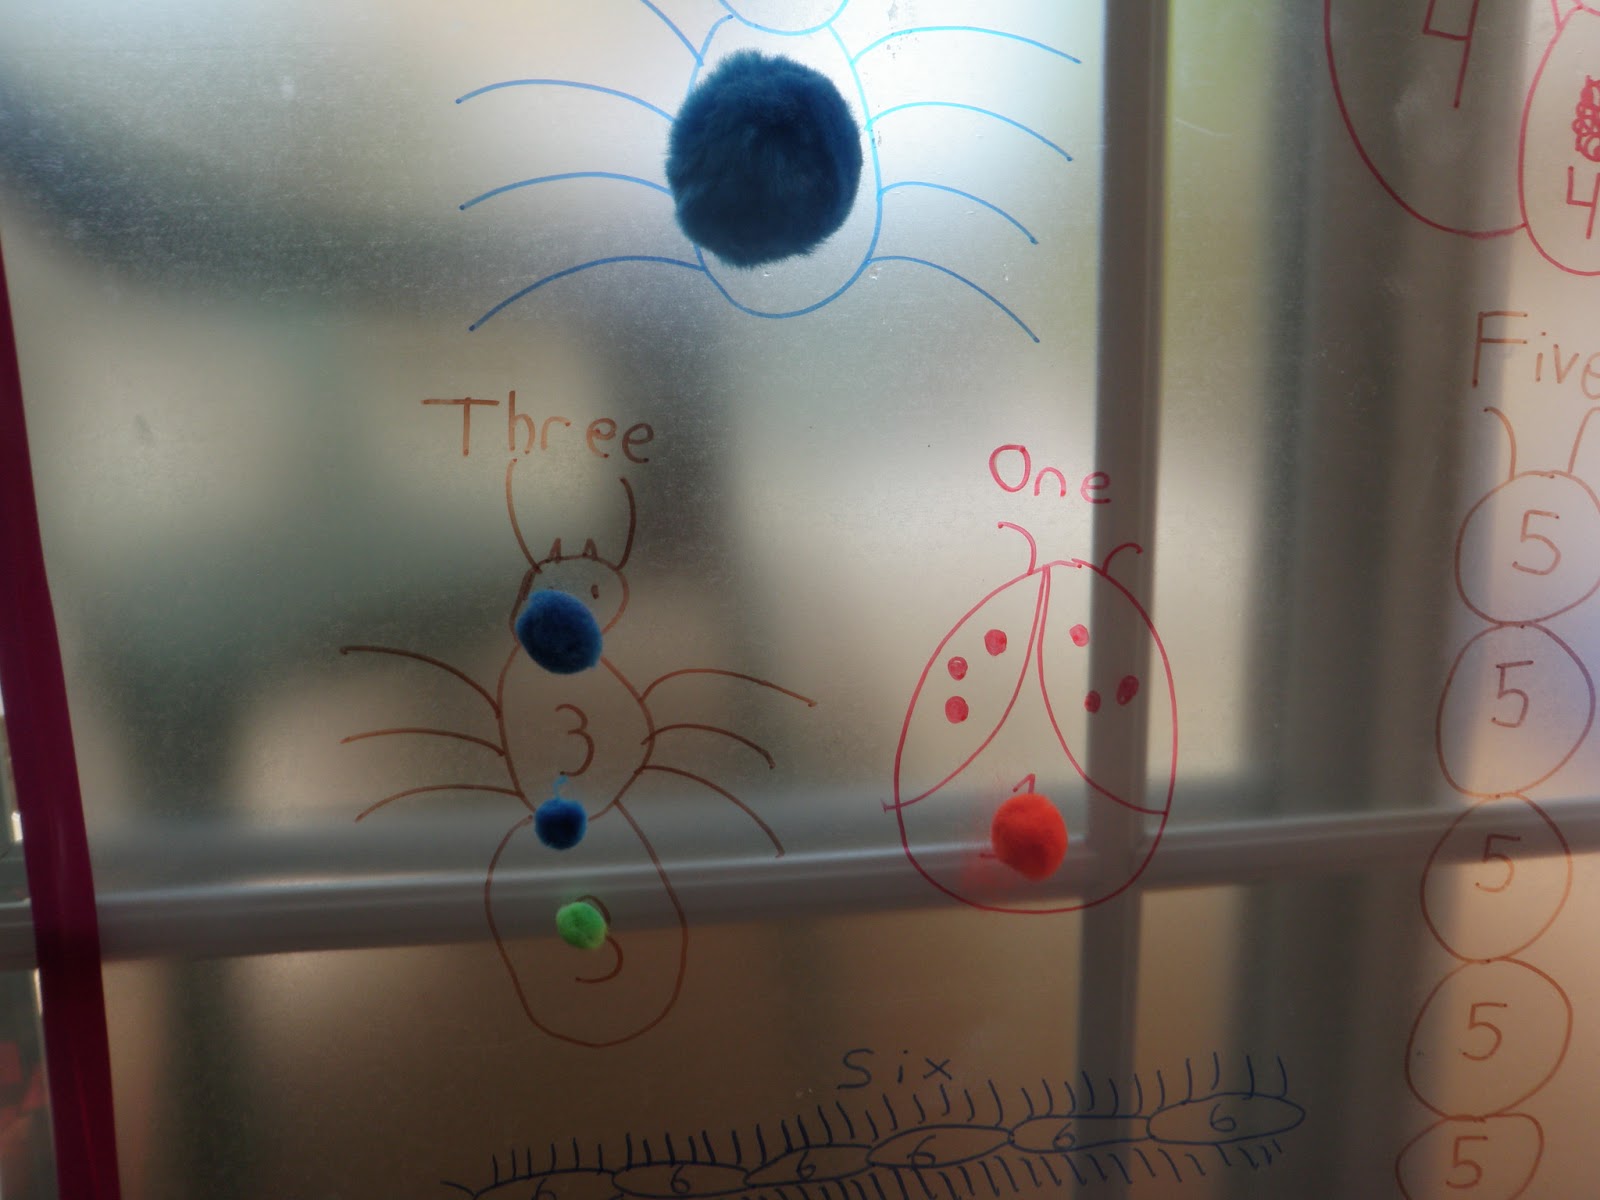
2. I wrote with a Sharpie marker on the backside of the contact paper (the clear smooth side). I hand-drew the bugs (forgive the crude drawings!). I wanted to make this a number activity, so I made the bug body parts to match the numbers I wanted to represent.
3. I wrote the numbers into the body parts. Make sure to write the numbers backwards! (or else they will be backwards to the child when you hang it up.)
4. I took the paper backing off the contact paper.
5. I taped the contact paper with the sticky side out on my sliding deck door. I used electrical tape to hang it up. This is definitely the most tricky part! It's hard to hang the contact paper without having it get all messed up and put tape on at the same time. It would be a nice two-person job if you have another person around to help you. I hung mine up by myself.
So now you have a sticky wall :) You can make sticky walls for all sorts of things so feel free to take the idea of a sticky wall and run with it :)
The next question is "What do you stick to the wall?" Well . . . We started with pom-pom balls. Those did not stick so well, but it was a great fine motor and sensory activity for my son trying to get the balls to stick :) I let him play with them until he got frustrated that it wasn't working. Oh well. On to the next idea :) I had some tissue paper sitting around from Victoria's Secret (see, you can use whatever random materials you have at your house! Think outside the box!). I cut up the tissue paper into random size and shapes and handed them to my son. The tissue paper worked great! :) Not only did it stick to the wall but it is also see-through! So we could still see the numbers and bugs after he was done. And now we have a cool kinda stain glass bug concept on my door :)
Check out the pictures below :)
You will also note that I did modify this activity because my son had the huge hospital cast on his leg. He easily sat in the little chair for this activity and I purposely placed the sticky wall where he could reach all of it while sitting in the chair.
If you do this activity or something from this activity sparks an idea in your head, I would love to hear about it :) I love reading comments on my blogs :)


No comments:
Post a Comment