Friday, May 31, 2013

Critical Thinking

One skill that I think is really important for our children is "critical thinking."  It's one of those areas that I always struggle with myself and I would like my son to be good at doing.  We have been working on developing these skills in multiple ways.  Here are some of the ways that we have been doing this:


1.  We play loads of games! :)  The game above is from The Very Hungry Caterpillar. (so it also goes with our insect/bug unit and our growing of caterpillars)   In this game you draw a card to match the food items on another card.  It's a good matching and thinking game.  The players have to determine the rows and images needed in order to win a "butterfly".  


2.  This is another form of a matching concept.  In this activity I had some cut-out dinosaurs and a paper with the same dinosaurs and their names charted on it.  LO had to match the appropriate dinosaur to the appropriate column and glue down the images.  I got this activity pack from RoyalBaloo.com.  (http://royalbaloo.com/dinosaur-pack-update/)

3.  Another great thinking activity in the Royal Baloo dinosaur pack were some easy Sudoku boards using dinosaurs.  I cut out the dinosaurs for Little One and he glued them in the appropriate boxes. He had never done a Sudoku before and I was SHOCKED at how quickly he figured it out! :)  I told him the rules and that it was like doing a puzzle (which he loves and are also great critical thinking activities).  I helped him with the first "easy" board and he did the next two "medium" level boards all by himself!  I also loved that he talked himself through them was truly "thinking" about each move. :)
 4.  Another activity in the Royal Baloo dinosaur pack was to write a story.  This definitely shows some critical thinking skills.  LO told dictated to me his story and I wrote it down for him.  Getting your child to come up with a story truly shows their creativity! :)

 5. A few days after finishing the Royal Baloo dinosaur pack, I thought I would go back to the Sudoku game concept with LO.  Since he did so well at it, I thought we should practice it.  I had bought at a homeschool conference the first Mindbenders Book.  It is made by the Critical Thinking Company.  http://www.criticalthinking.com/getProductDetails.do?code=c&id=01328   The directions have the child write the answers in the boxes.  I knew that my son would not be interested at all in writing in the boxes but I did know that he already liked gluing things into boxes!  So I cut out construction paper and told him the rules.  He decided that the blue squares would be for his "yes" answers and that the green squares would be for his "no" answers.  He quickly did 3 of the pages!  I was really surprised because I had shelved this book thinking that we would not get to it for at least a few more months.  

6.  The last critical thinking picture I have for you today is of "BrainQuest".  I honestly did not even know they made BrainQuest for 3 to 4 year olds.  It was on a Freecycle list (I LOVE Freecycle!) and I said "sure!  Why not try it?"  Honestly, a lot of it is too easy for LO, but it is a good review and does have some basic critical thinking going on.  Each page has a series of questions and then the next page has the answers.  This has been a good activity for my husband to do with my son.  It takes no prep and is small and easy to follow.  LO went through about 25 cards in the first sitting! I figure we will finish these rather quickly and then put them back into the Freecycle world for another child to use.  http://www.freecycle.org/

What critical thinking things do you do with your children?  I would love to hear from you :)  Post a comment and subscribe to my blog :)

Music with Water

I saw this activity on TeachingMama.org and thought "I have to try this with my son!" It just looked like so much fun!  And it was soooo easy to do! :) 

Here is the link to her blog post: http://teachingmama.org/water-xylophone/

I already had Mason jars sitting in my kitchen.  I filled them up with water (different depths) and got out the food coloring.  That is literally all you need to do this fun activity :)
Here are the pictures :)

I had 5 available jars and only 4 colors of food coloring.  So I mixed the blue and red to make a purple.  This  became a discussion on mixing colors for LO along with the actual music discussion that I had planned. :)  I love when that happens!


Lego Contest!

Little one LOVES Legos!  :)  We went to the LegoFest in Richmond, VA this year and LO participates in a monthly Homeschool Lego Club.   My living room is usually covered in Legos!  I love the creativity and engineering skills that goes into Legos.   (I'm not a huge fan of picking up Legos and stepping on them, but that is another story.)

Anyway, our public library is doing a Lego Contest in June and LO has entered the contest :)  Here are some pictures of LO playing with Legos and then building his contest piece.


 His completed contest piece was two stegosaurus dinosaurs (a mommy and a baby) with a tree and a truck with a few people in it.  The story is that the truck was sent to rescue one of the people from the stegosaurus.  The contest rules was that it had to be creative, totally made by the child, and not from a kit.  It could be based on a story or a theme.  So we used the picture from the book to give LO some inspiration.   All the children who enter the contest will get a ribbon and then 4 from each age will be selected for Lego Store gift certificates.  We love the Lego store! :)  It would be cool to win.

Volcano Making - Magic School Bus Kit

We are now receiving the monthly Magic School Bus Kits from the Young Scientists Club.  We got the deal from Educents for 50% off.  The first kit that arrived was on one of Little One's favorite topics . . . volcanoes!  :)  This was a more in-depth volcano making experiment than we had done before.   This one involved actually making a paper mache volcano!  So it took us  a few days to make it, for it to dry, and for us to actually do the experiments :)

Here are some pictures of what we did :)

1.  This is a picture of the Magic School Bus directions and of LO going through the kit with his daddy.   My husband was willing to do most of the kit with LO but didn't want to do the volcano building part.  He said that was a little beyond his crafting ability ;)


2.  Here is LO making the paper mache volcano.  This is the first time we have ever done paper mache. LO had a lot of fun :)   The paper mache material is just flour and water.  We dipped strips of newspaper into the bowl and then put them on the construction paper.  Under the construction paper is around a plastic bottle.


3.  After our paper mache volcano dried overnight, we got to work with the explosions :)  Since it had a relatively big bottle inside, it took quite a while for us to get it to "explode".  LO experimented with different amounts of baking soda, water, vinegar, and food coloring.  We used a funnel to help guide the materials into the bottle.


4.  Here is a video (partly shot by LO) of the volcano experiment :)


5.  And here is little one saying "VOLCANO!!!"


Baking Adventures :)

Last week it was my best friend's birthday.  As soon as I told my Little One that it was her birthday, she said "she needs a birthday cake!"  So I am not usually a baker, but he was so excited about the idea of baking a cake that I pulled out the cookbook for a recipe.  He wanted to do it "all by himself", and he honestly did! :)  I would explain to him what to do next and he would do it.  I did the measuring and he would do the pouring.  It was a great homeschooling lesson about following directions and numbers. :)

Baking a Birthday Cake
1.  Here he is buttering the pan.  He LOVED the sensory feel of the butter on the pan and squishing it around with his fingers.


2. He then placed the flour in the pan on top of the butter.  He wanted to play with the flour and make designs but I didn't think that would work too well when it actually came to baking the cake.


3.  Here he is mixing in the eggs.  He REALLY wanted to crack the eggs himself, but I didn't think that was the best plan.  So I did the cracking and he did the stirring.


I didn't take pictures of the rest of those cake making steps, probably because I was holding the bowl while LO poured the mix into the pan. And then I was holding the pan to put it in the hot oven.

We let the cake cool in the fridge overnight and then we got to work with decorating the cake.

4.  We were making a strawberry shortcake, so LO wanted to cut up the strawberries to decorate the cake.  I got off of a Freecycle (http://www.freecycle.org/) this great Pampered Chef "safe" knife for kids.  LO loves to cut things up with it and it won't hurt him :)   So he cut up all the strawberries for the cake.

5. Here is our finished cake :)  LO had so much fun decorating it!


6. And here is my best friend enjoying her cake :)  LO even picked out the candles for the cake.


7.  The birthday girl and her baker :)


Baking Bread
After baking the cake, LO decided that he wanted to bake some bread.  This time we decided to pull out the Kitchen Aid mixer for the job :)

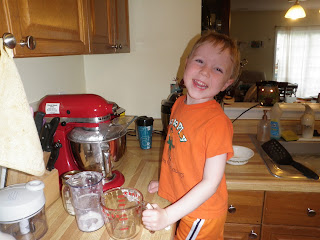
Here are some pictures of LO pouring in the ingredients.


And here is our finished bread :) Yummy!


Caterpillars

We love watching things grow and change :)  Last year we grew caterpillars into butterflies and we decided it would be fun to do again.  We had the kit from last year so we just had to order the actual caterpillar refills.  I ordered them via Amazon and  they arrived really quickly for about $20.  We got 6 caterpillars.  I should mention that we are not the best at babysitting caterpillars.  On the first day that they arrived, we placed them next to our entertainment unit, right next to the Playstation.  FYI, this was a bad idea.  The caterpillars got really hot next to the fan from the Playstation and condensation started to accumulate in the jar. Oops!  That will kill the caterpillars.  I thought that I would be sending the caterpillars back with an "oops! We  killed the caterpillars!"  Luckily the caterpillars survived.  BUT I should also mention that I have a crazy cat who decided to attack the caterpillars one night while we were sleeping.  I got up in the morning to find the jar on the floor and the caterpillars not looking so good.  I placed them upright and away from where the cat could reach them.  I totally thought they were goners at this point.  Amazingly, they survived.   These are some seriously hardy caterpillars! :)   At this point, five of the caterpillars have gone into the chrysalis stage.  One of the caterpillars is still alive but not going into the chrysalis stage yet.  We are calling him "Fred" and wondering what will happen to him.   Anyway, here are some pictures :)


Bug Sticky Wall :)

Note - Wow!  It's been a LONG time since I have updated my blog!  You can always tell when my life gets busy because I stop posting to my blog.  At the end of April, my Little One had two surgeries (You will see the casts in the pictures.).   So that keeps me quite busy. We still learn all the time, but I obviously modify things as we need to.  :)  I just downloaded a ton of homeschooling pictures from my camera, so expect A LOT of updates today :)

A Bug Sticky Wall :)

So we have been studying Amanda Bennett's unit study "Incredible Insects". Here is a link http://www.unitstudy.com/IncredibleInsects.html .  I bought a whole bunch of her units when she was running a deal of "Buy 5 for $20".   This is the first one of the units that we have been working on.   The unit itself does  NOT have this specific lesson on a bug sticky wall. I saw the concept on another blog and decided to add it as a bug activity to go with this unit study.  My LO loves bugs! (He is a very typical little boy!) 

I believe this was either the day of his second surgery or maybe the next day.  He recovers very quickly from surgery and always wants to get playing right afterwards :)

So here is what we did :)

1.  I took out some clear contact paper.  I buy rolls  of it super cheap at the dollar store.
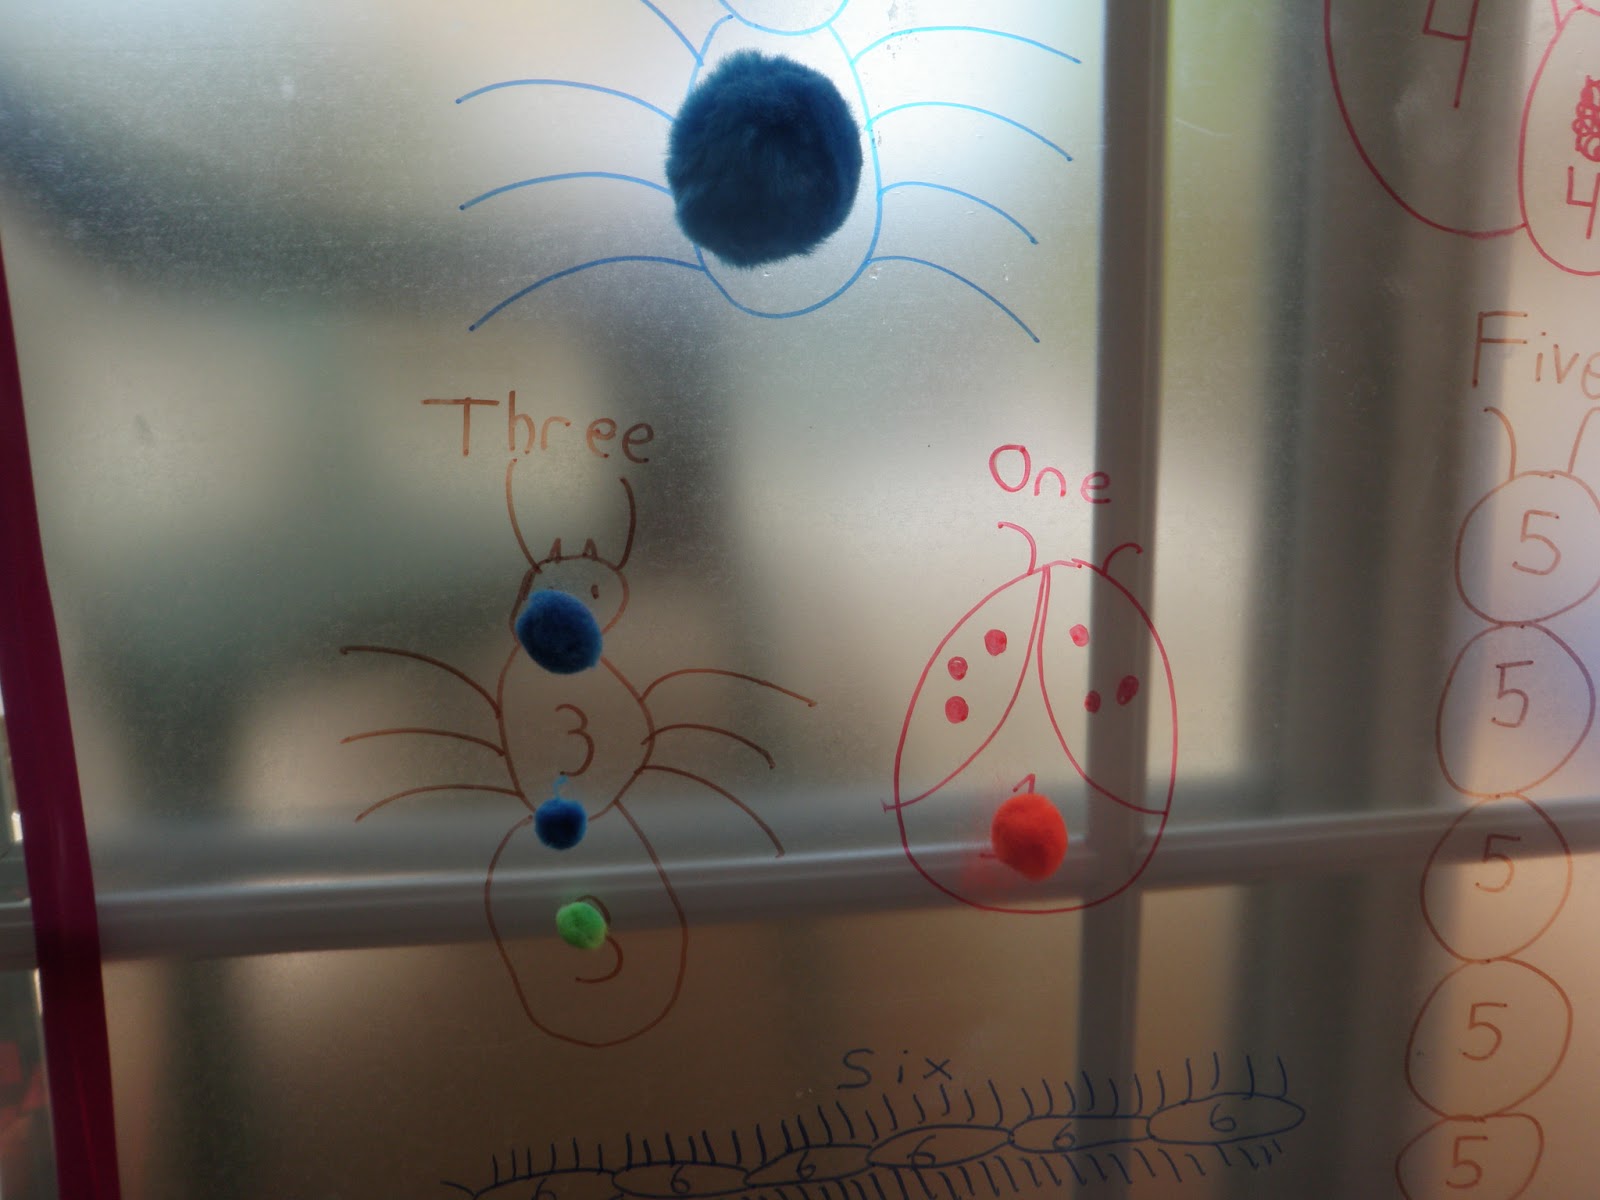
2.  I wrote with a Sharpie marker on the backside of the contact paper (the clear smooth side).  I hand-drew the bugs (forgive the crude drawings!).  I wanted to make this a number activity, so I made the bug body parts to match the numbers I wanted to represent.
3. I wrote the numbers into the body parts.  Make sure to write the numbers backwards! (or else they will be backwards to the child when you hang it up.)
4.  I took  the paper backing off the contact paper.
5.  I taped the contact paper with the sticky side out on my sliding deck door.  I used electrical tape to hang it up.  This is definitely the most tricky part!  It's hard to hang the contact paper without having it get all messed up and put tape on at the same time. It would be a nice two-person job if you have another person around to help you.  I hung mine up by myself.

So now you have a sticky wall :)  You can make sticky walls for all sorts of things so feel free to take the idea of a sticky wall and run with it :)

The next question is "What do you stick to the wall?"  Well . . .  We started with pom-pom balls.  Those did not stick so well, but it was a great fine motor and sensory activity for my son trying to get the balls to stick :)  I let him play with them until he got frustrated that it wasn't working.  Oh well.  On to the next idea :)  I had some tissue paper sitting around from Victoria's Secret (see, you can use whatever random materials you have at your house!  Think outside the box!).  I cut up the tissue paper into random size and shapes and handed them to my son.  The tissue paper worked great! :)  Not only did it stick to the wall but it is also see-through!  So we could still see the numbers and bugs after  he was done.  And now we have a cool kinda stain glass bug concept on my door :)

Check out the pictures below :)

You will also note that I did modify this activity because my son had the huge hospital cast on his leg.  He easily sat in the little chair for this activity and I purposely placed the sticky wall where he could reach all of it while sitting in the chair.

If you do this activity or something from this activity sparks an idea in your head, I would love to hear about it :)  I love reading comments on my blogs :)