Thursday, January 31, 2013

Sensory bin - rice and buttons

I changed up little one's sensory bin last night after he had so much fun playing with the buttons.  I went pretty basic with this bin.  It does not really have a theme.

Sensory bin steps :)

1.  I took some regular brown rice and dropped some green food coloring in it.  I squished it around to get all the rice covered.  I put the rice into my sensory bin container.

2.  I kept in the sensory the "basics" which include measuring spoons, a plastic cup, plastic test tubes, a measuring cup, a dropper, a funnel, a test tube rack, and a plastic fork.

3.  I added a container of buttons.  They are mainly the extra buttons that come on garments when you buy them.  The buttons are all different shapes, sizes, and textures.

That is it!  Plenty of things for my little one to discover :)

See pictures below of my little one playing with it and the inside of the bin.

Wednesday, January 30, 2013

Fossil tracks

Today we made dinosaur fossil tracks out of plaster of paris.  Little one used cookie cutters, balls, and buttons to explore the various textures and prints.  We sorted and counted the buttons.  I think the buttons are going be part of his next sensory bin ;). He really enjoyed playing with them and was really creative.   Here are the steps for this activity (pictures are posted below).

1.  We got a tray and put oil on it.  Little one used a basting brush to "paint" the tray in oil.  The oil is to help with removing the dried plaster of paris from the tray.

2.  We mixed the plaster of paris with the water to a pancake batter-like consistency and poured the mixture onto the tray.

3.  We waited a few minutes for the plaster of paris to dry.

4.  Little one used dinosaur shaped cookie cutters to press dino shapes unto the tray.

5.  Little one then used various small balls to roll "dino tracks" and then he used buttons to make fossilized eggs and rocks.

6.  And, as any toddler boy would do next, he got his dinosaur toys out to play with his creation :)

7.  Little one decided to use paint and his toy dinosaurs to make more tracks once his plaster of paris had dried.

This activity does require a lot of washing afterwards. ;). We had to rinse dinosaurs, buttons, balls, brushes, trays, etc.  But it was totally worth the learning :)

This idea sprung from a dinosaur train pbs lesson.

Tuesday, January 29, 2013

National art gallery

Today we took advantage of the beautiful spring weather in january to go to dc.  The national art gallery was having a special exhibit on michalengelo's unfinished work.  Below are some pictures.  This is what i love about homeschooling.  We can learn everywhere :). Little one learned about many art mediums including impressionism, sculpture, and landscapes.  We did some of the audio tour as we explored the museum.  He was very interested in the drawing books and said he wanted to learn to be an artist.  I am looking forward to starting classical conversations with him in the fall.  A large part of the curriculum focuses on classical art.  I think little one is going to love it! :)

Monday, January 28, 2013

Reading journal and shadow lesson

Tonight we started bedtime by learning how to do shadow dinosaurs :). We went into a dark room and used a flashlight to make shadows on the wall.  The handout in the picture is from the Dinosaur Train PBS lessons.

After learning about shadows, little one finished getting ready for bed and snuggled in for his bedtime story.  We are working on the original "The Wonderful Wizard of Oz" by L. Frank Baum.  Tonight we read the major climatic scene where Dorothy threw the bucket of water on the wicked witch.  LO was fascinated! :). 

After reading the scene I had LO draw in his new reading journal.  I attached a picture of his journal entry from tonight.  I bought a basic primary composition book at Walmart the other day for this purpose.  My theory is that LO will complete an entry for every book we read.

Another thing I did today was that I downloaded a blogger app on my phone so this blog entry and the previous one were posted from my phone :). I am hoping this will make it easier for me to update this blog more often.  Although I am getting tired of typing all this on my tiny phone keyboard ;).  And I can load the pictures directly from my phone to the blog :). Yeah!  Happy blogging! :)

Thank you cards

Today we wrote our christmas thank you cards.  I am calling that "school" for today. :). I wrote the messages with little one dictating.  Then he drew pictures for each one :)

Sunday, January 27, 2013

12 Little Apostles and Grotto Lesson

We use Catholic Icing Preschool Curriculum.  Both of these AMAZING ideas are from Lacy's FABULOUS website and lessons :)  Thanks Lacy!

12 Little Apostles :)

We are back to the liturgical season of "Ordinary Time", so we decided to do the unit study on the 12 Apostles.    Here is a picture of my little one coloring 12 popsicle sticks which are going to become his 12 apostles.  We also made a popsicle stick Jesus to go along with them.  He colored each stick differently using his markers.  The open book is the unit lesson out of the Catholic Icing Preschool Curriculum.


Here LO is holding up his finished "Apostles" :)  He had so much fun with this!  Then we sang the song about the apostles which basically goes "1 little, 2 little, 3 little apostles. . ." etc.  Buy Lacy's curriculum to hear more about it :)  LO thought it was great and made me sing the song over and over and over again :)


Grotto Lesson :)

After finishing our Apostles, we moved into our lesson of the day which was on the letter G.  We chose to make the Grotto out of corn flakes.  :)  It was a lot of fun.  In connection to this lesson, we had previously visited Our Lady of Lourdes Grotto in Maryland, so LO had a connection to what a grotto was all about.

Here is a picture of the lesson from the Catholic Icing Preschool Curriculum.


Here is a picture of LO melting marshmallows on the stove (we recycled the marshmallows from our snow sensory bin!).  There was also butter in the pot.  This is obviously an adult-supervision necessary activity ;)


We then crunched up corn flakes together.

 We then mixed the cornflakes and the marshmallow mixture together and LO shaped his "grotto."


He then added some green food coloring drops for the grass and some glitter for the flowers.   And we found a small wooden doll toy in the basement that we used to represent Mother Mary.


To keep our "grotto" for later, we transferred the grotto from the cookie sheet that we had made it on unto a paper plate and labeled it.  Turned out to be pretty neat :)


Sensory Bin - Slime, Gel, and Goop :)

Our latest sensory bin was put together mainly because LO was just having WAY too much fun with this Magic School Bus Kit on Slime, Gel, and Goop :)  He received this kit for Christmas and just absolutely fell in love it! :)  Once we completed the actual lessons, he just wanted  to play with it more and to conduct more experiments.  In the essence of trying to figure out HOW to save such a kit, I realized it would make a GREAT sensory bin! :)  So I dumped out most of the contents of the previous sensory bin on "snow" and put all the materials from this Magic School Bus Kit inside :)  LO was in heaven!  :)  He played with it for 2 solid hours straight! :)


Here is my "How To" in pictures on making this sensory bin :)

Slime, Gel, and Goop Sensory Bin 101 :)

1.  The materials included the following:  a small funnel, a small plastic test tube holder, a couple of plastic test tubes, an eyedropper, a popsicle stick, instant snow, some gel rocks, some gel balls, a plastic cup (for water), and some tap water.


 2.  As you can see from the pictures, LO had loads of fun and it got kinda messy.  He used the water to mix up the materials and watched what happened.  He loved pouring things in the funnel to see what would happen and to make things in the test tubes.  You are going to need lots of paper towels to help you LO clean up the mess :)

 3.  After cleaning up the original mess is when I realized this would make a great sensory bin activity! :)  Hahaha.  Lesson learned on this one.  So I transferred all the materials from the table into the empty plastic container.   I told LO that he had to keep it ALL inside the container or else he was not allowed to continue playing with it.  He did make a little more of a mess but it was not nearly as much as the original :)  I also added some measuring spoons, plastic fork, plastic cups, and pipe cleaners to the sensory bin.  LO LOVED the addition of the measuring spoons and cups! :)  He played with this for about 2 hours straight that day and has taken it out multiple times since :)


4.  I also used my label maker to add a label on the outside of my plastic container to read "sensory bin." :)  I hope to change up the sensory bin at least once a month.  Keep tuned for  more :)


Volcano Lesson

 For those that like step-by-step instructions, I am going to step you through my volcano lesson with my preschooler :)  It's super simple  and we used things that we already had in the house.

Volcano Lesson 101 :)

1.  My son LOVES dinosaurs and volcanoes.  He already had this very cute stamp set made by Melissa and Doug that had dinosaurs and a volcano stamp.  He started our lesson by using the stamps to make a "scene" including dinosaurs and a volcano.   We just used a basic piece of white paper.


2. While he was happy stamping away, I got together our materials for our volcano lesson.  All you need are: a cookie sheet with sides, one canister of regular playdoh, some vinegar (I used balsamic but any vinegar will do the trick), some baking soda, and a spoon.


3.  I placed the playdoh in the center of the cookie sheet and made it into a rough shape of a volcano.  I then used my thumb to push a hole in the center of our volcano.  We placed some baking soda into the hole (little one liked to do this part).  And that I poured some vinegar into the hole, which makes the "volcanic eruption." :)


4.  Here is a video of our "volcanic eruption" lesson in action :) Enjoy! It's an easy, peasy lesson and loads of fun! :)


"Snow" Sensory Bin

For the month of January, my son wanted to play in the snow.  But there wasn't any actual snow outside.  So I decided to bring the "snow" inside :)  Here is what we put in our "snow" sensory bin.  It was super easy to make and I used things that were already in my house.  Sensory bins do not require a lot of money or specific "lists". You can use anything you want and BE CREATIVE :)  For those that want a "list" here are pictures of what I used :)

"Snow" Sensory Bin 101 :)

My Steps in Pictures :)

1 - I got a medium size plastic bin.  Any sort of plastic container will work just fine. I picked up a whole bunch of these at Target and use them for all sorts of things. I love that they fit very nicely on my homeschool bookshelves.


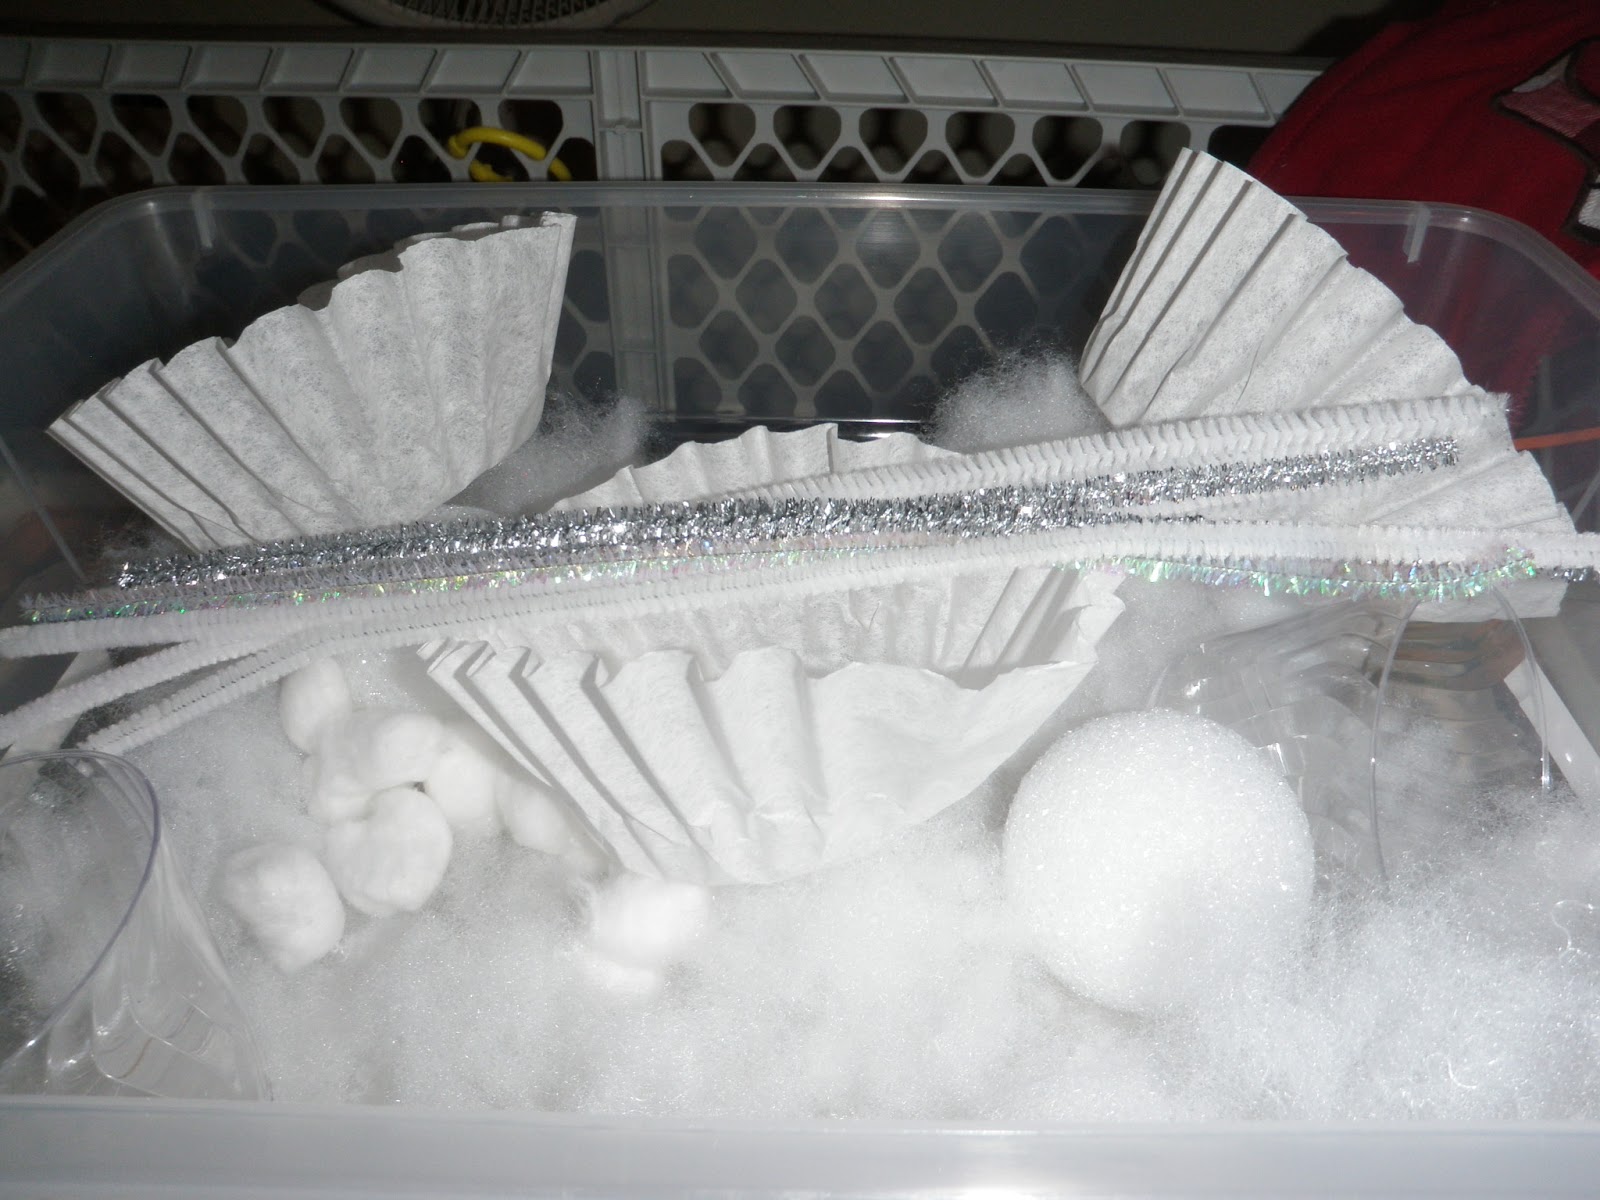
2.  I grabbed some Polyfil from my sewing bag.  It was leftover from making LO's Halloween costume. I thought it looked like white fluffy snow.


3.  I grabbed some cotton balls from our medicine cabinet.  Definitely fit the "white and fluffy snowball" category that I was looking for.


4.  Then I grabbed some foam balls.  We bought these to do various crafts.  I also threw in the bin some white plastic cups.  I figured he could stuff "snow" in the cups.  He used them to be "cones" for ice cream ;)


5.  I had some random silver and white pipe cleaners in the craft drawer, so I threw those in.  I figured that he would come up with something fun to do with pipe cleaners.


6.  I also threw in some white coffee filters.  Basically because they were white and I was like "why not?" ;)


7.  And then we had some leftover candy canes and when I think of "snow", I think of Christmas.  And I had a random Pampered Chef scraper and some measuring cups and white plastic lids in my kitchen "junk" drawer, so I threw those in the box.  Measuring cups are ALWAYS a good thing for a sensory  bin.  Mixing and pouring and HUGE preschool concepts. :)  Oh, and I threw in some marshmellows.  I figured they were sticky and would be fun to play with ;)  Obviously we were not going to eat those afterwards ;)  [but if you check out my "Grotto" blog post which I will be posting soon, you will see that we recycled the marshmellows from this sensory bin to melt to make his grotto out of corn flakes]


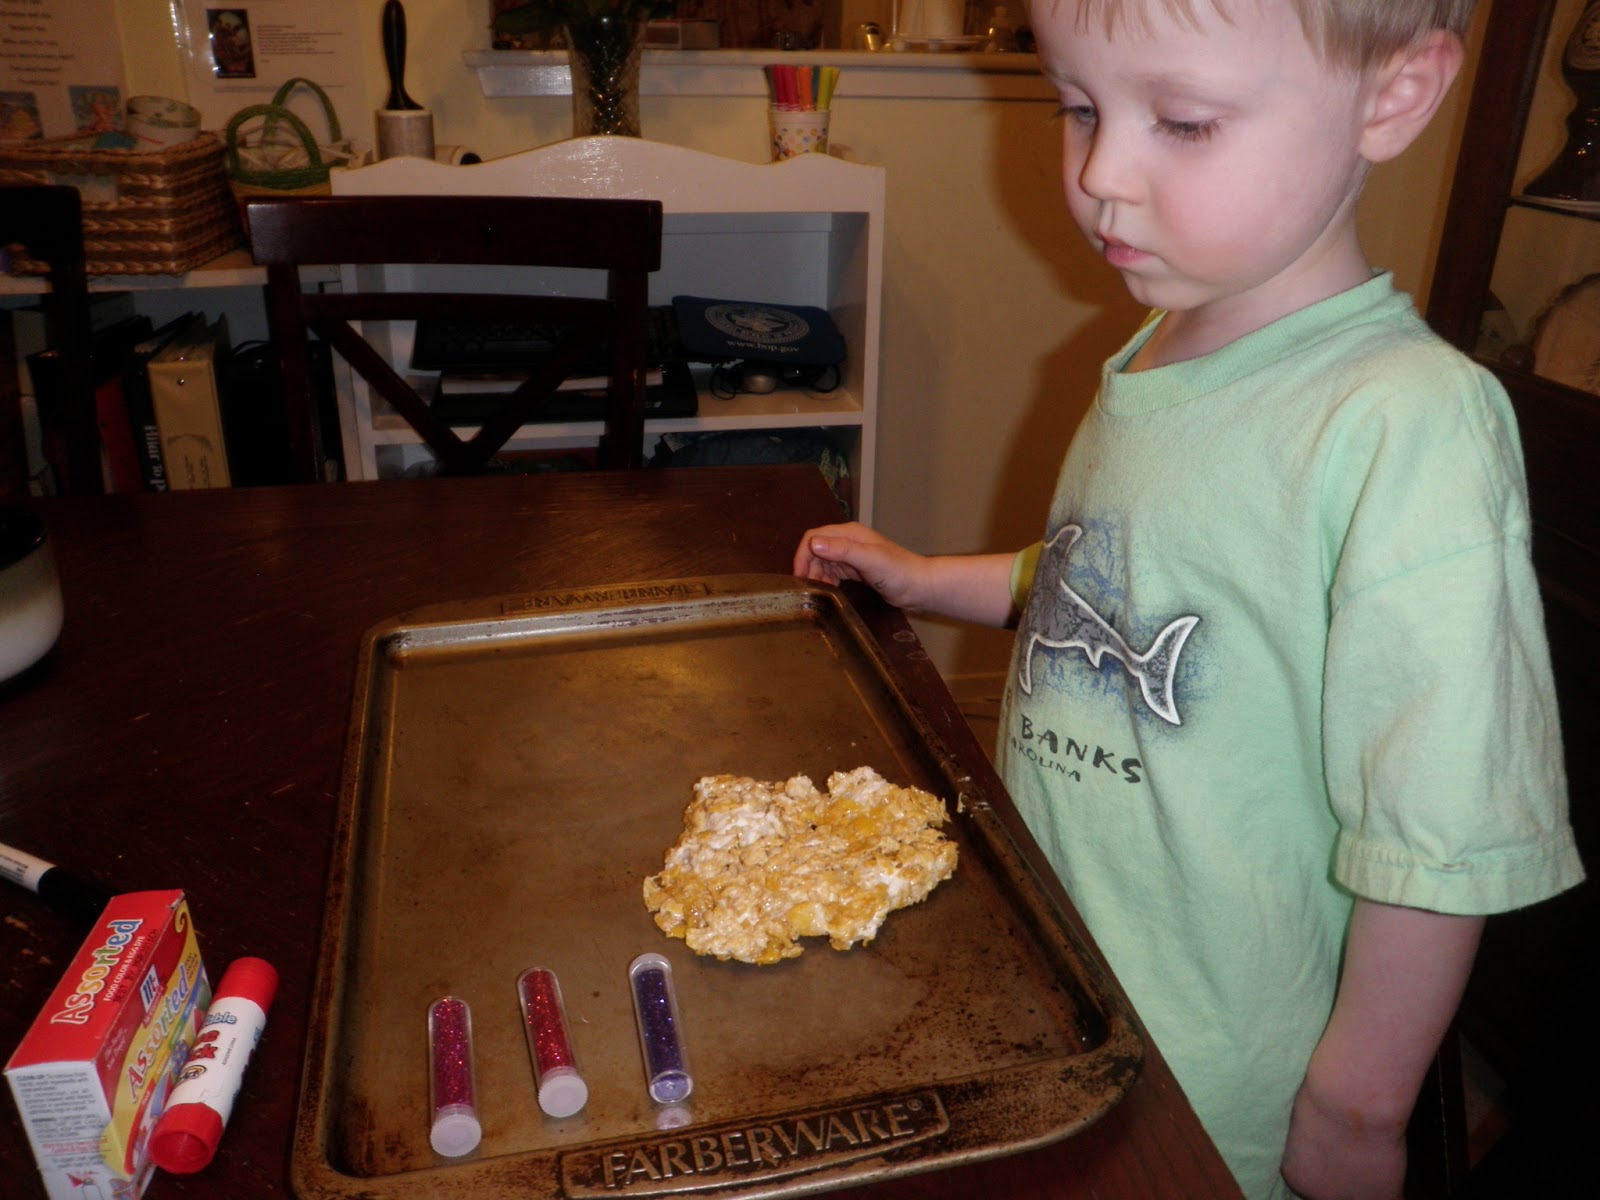
8.  LO sitting proudly at his school table with his sensory bin.  I didn't let him see what I was putting in it so that it would be a surprise.  He is waiting in anticipation in this picture. ;)


9. LO is discovering the cups and coffee filters.  He decided that they were ice cream ;)


10.  LO's big "idea" was to make snowmen out of the foam balls. ;)  I gave him some toothpicks to hold them together.  If you are doing this with really little ones, I would not advise toothpicks.


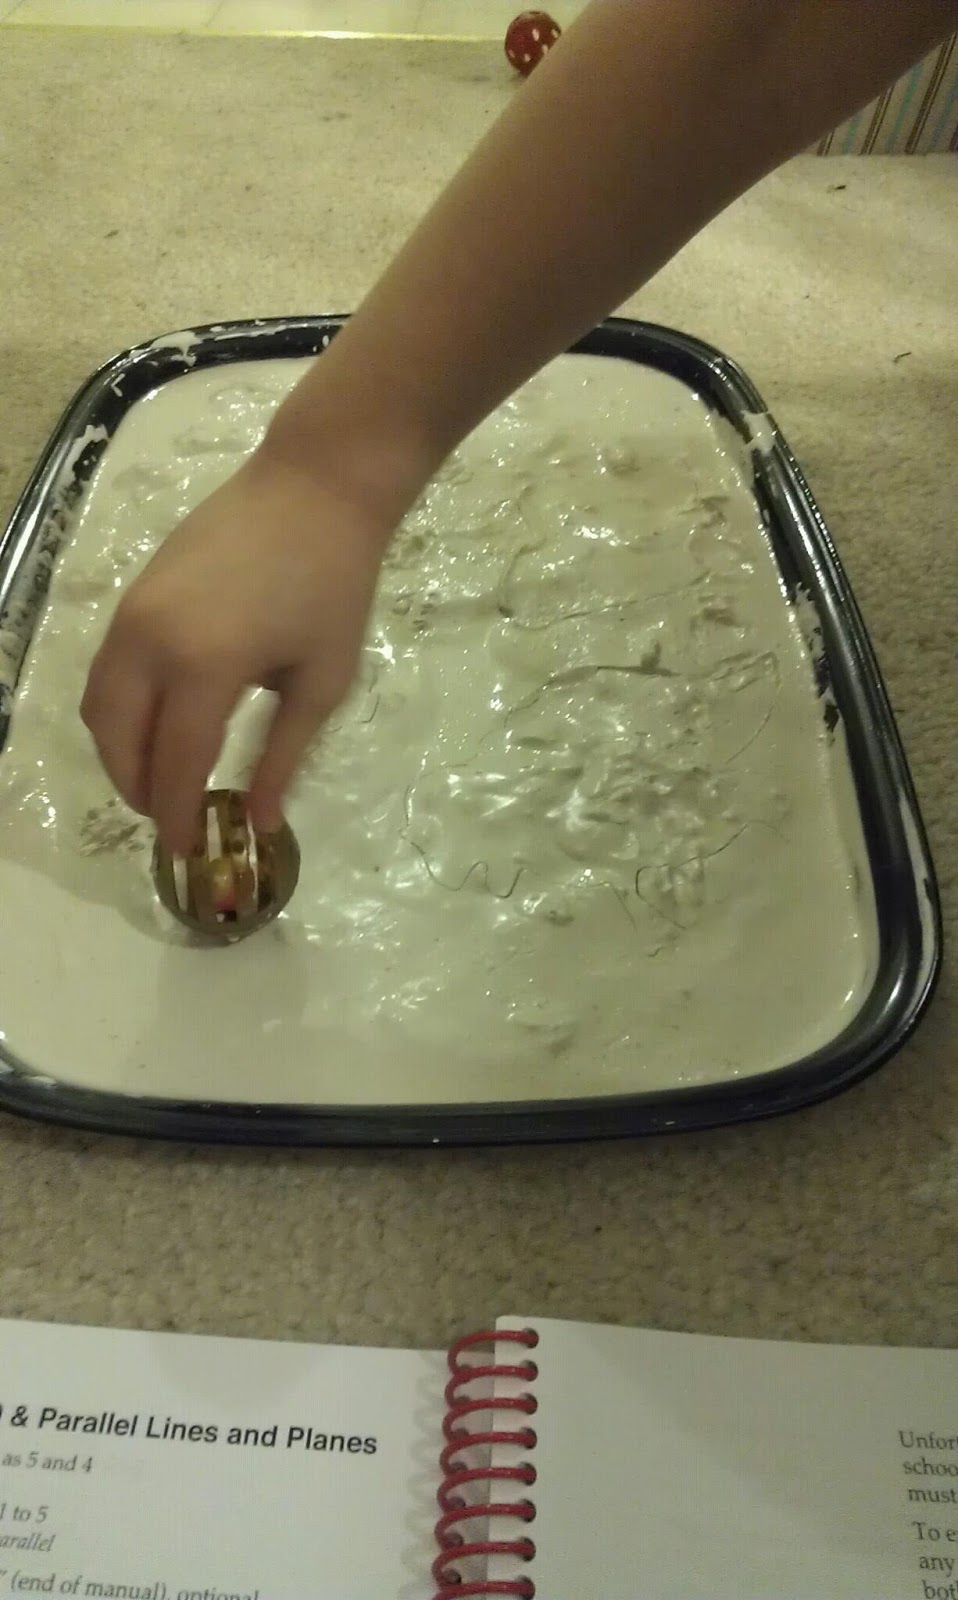
And that is our "snow" sensory bin :)  LO loved it and played with it a lot. Stay tuned for my blog post on our next sensory bin which was on "slime, gel, and goop" ;)

A Must Read about Blogs :)

Just stumbled on a great blog post from one of my favorite homeschool bloggers :) It is sooo true! Please keep her rules in mind when you read my blog and see my pictures :) http://www.theunlikelyhomeschool.com/2013/01/the-ugly-truth-about-blog.html?showComment=1359317227235#c8462655698032823960

Friday, January 25, 2013

An Awesome Homeschooling Day . . .

An Awesome Homeschooling Day . . . looks like this :)

When I got home from work (around 12noon), I told my LO that we were going to do some of his "school", but that first I needed lunch and a shower.  He was following me all over going "Is it time for school?  Is it time for school?  Is it time for school?"  :)  He was soooo excited!  :)   We had a great day with lots of lessons (way more than I had planned to do!).  When we finished one thing he was like "now what?  let's do more!"  So we kept on going :)

This is what we accomplished :)

- Updated our Circle Time wall by updating our month to January, our calendar of events for January, and our day of the week.  We also reviewed the season "Winter" and the liturgical season "Christmas".


- Read various books

- Finished our "space" unit using "George's Secret Key to the Universe" (finally!  We started this so long ago that my  renewal options from the library had run out!)  And, LO, retained A LOT of the information and could answer all my review and critical thinking questions from the chapter book.


- Completed his National Geographic Little Kids magazine for January/February


- Made our first monthly sensory bin for the year.  LO wanted to play with "snow", so I made that the theme. :) - I am going to make another blog post specifically on what I put in the "snow" sensory bin. :)


- We completed our PBS Dinosaur Train Lesson on volcanoes by making a volcano eruption using playdoh, baking soda, and balsamic vinegar. - I am going to make a seperate blog post with the specifics of this lesson :)


- He used his stamps to make a dinosaur and volcano theme.


- He played with his playdoh to make more dinosaurs, sharks, and volcanoes.


- We watched a YouTube video from the Discovery Channel about volcano eruptions.

All-in-all, it was a great homeschooling day! :)